THE PERFECT GIFT FOR ANY BASEBALL FAN
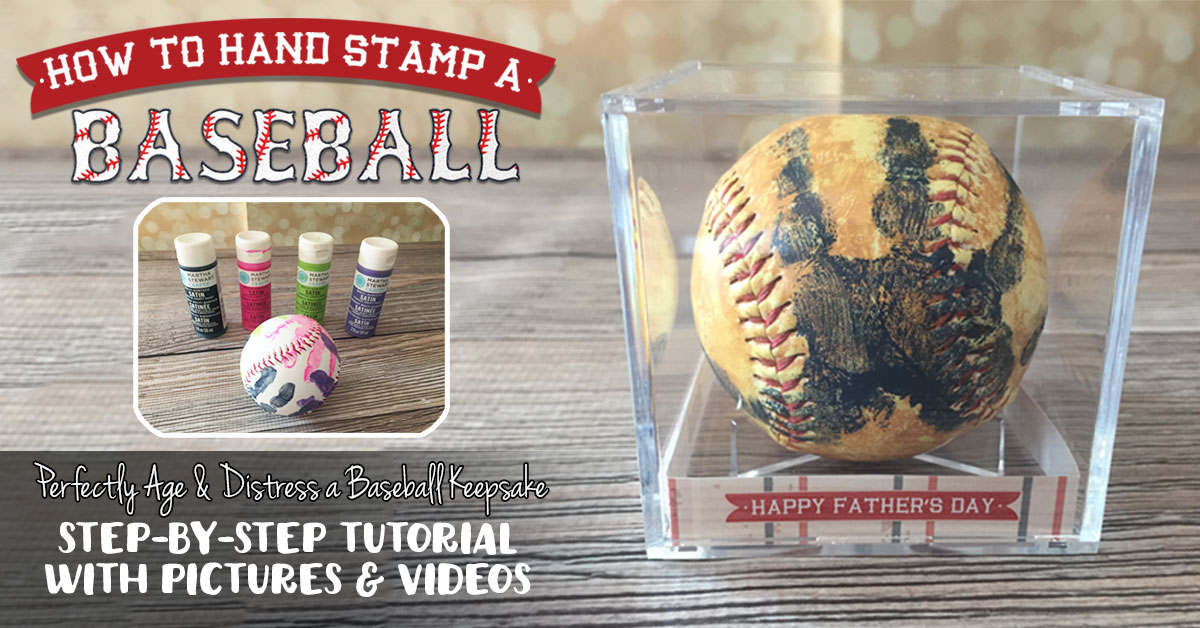
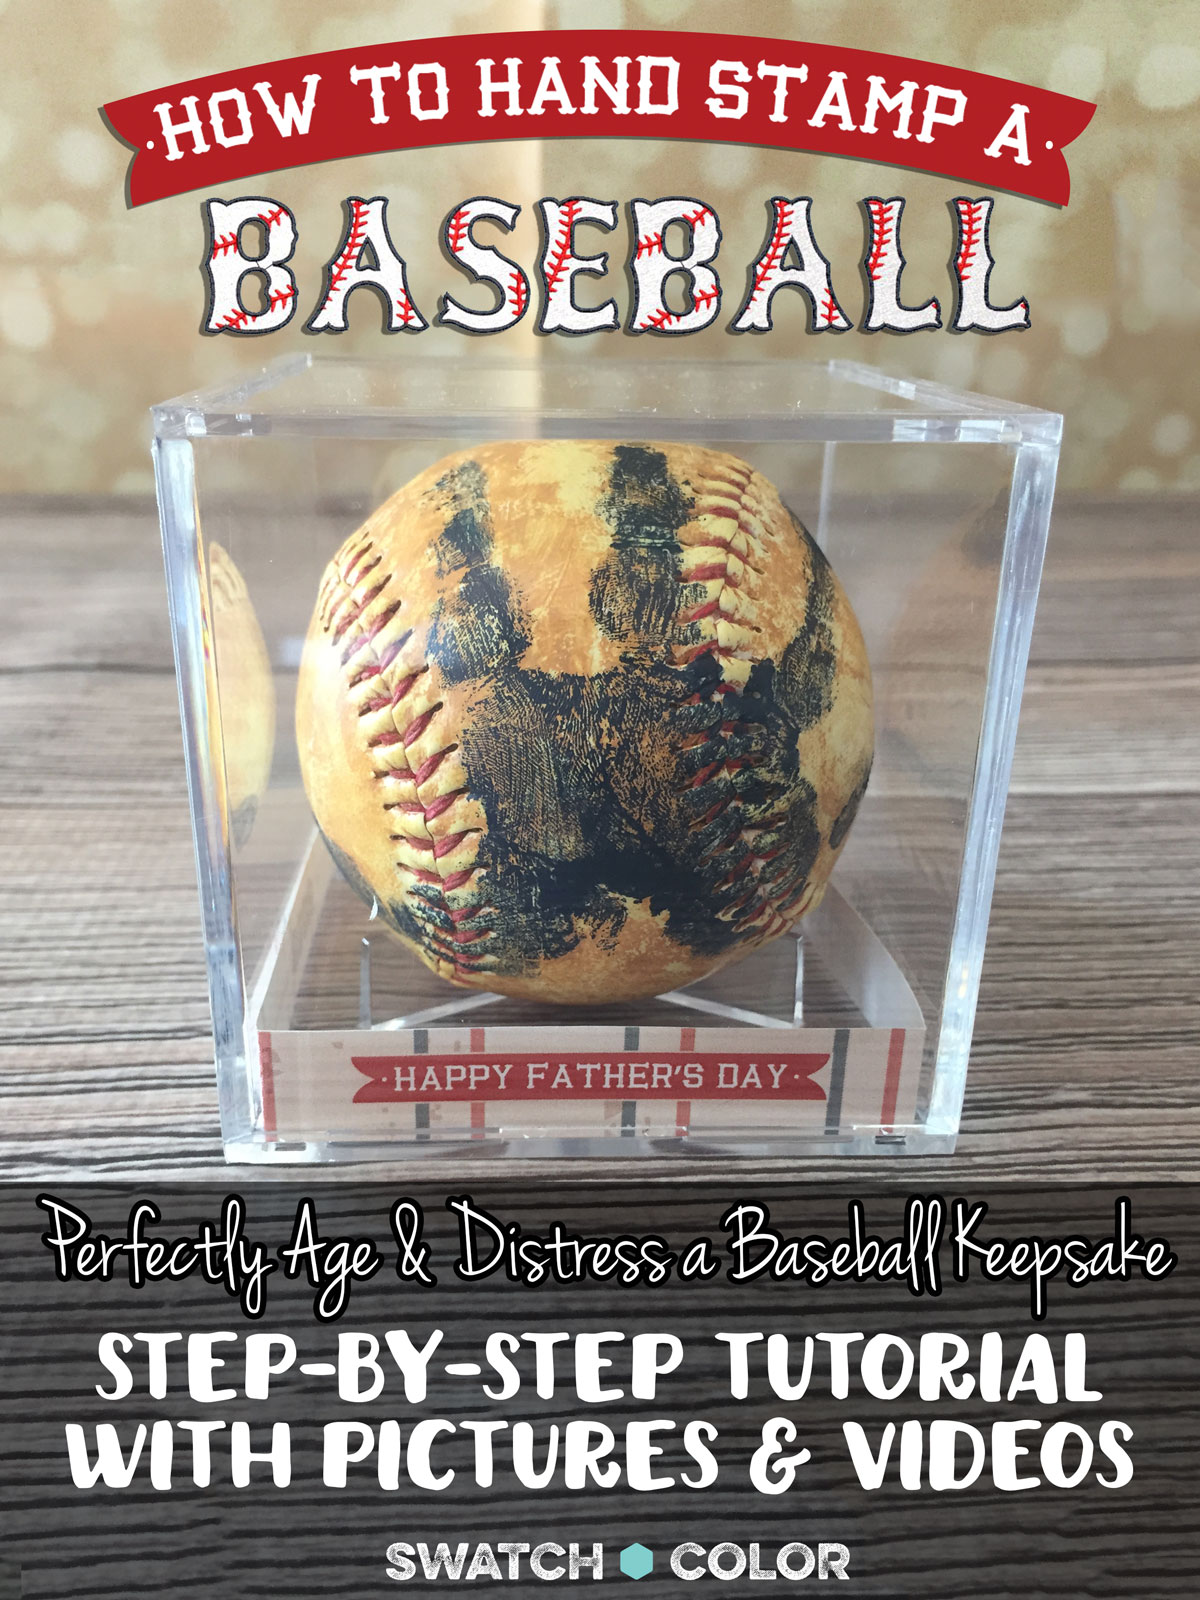
Father’s Day is right around the corner! If you have little ones and your husband is a baseball nut (like mine is), this is the perfect gift!
If your own father is a sports nut, this is also a wonderful gift for grandpa to your little ones. But really, I don’t want to be gender biased because I have a ton of girlfriends who are just as crazy about baseball and would be just as thrilled about receiving this from their little ones too!
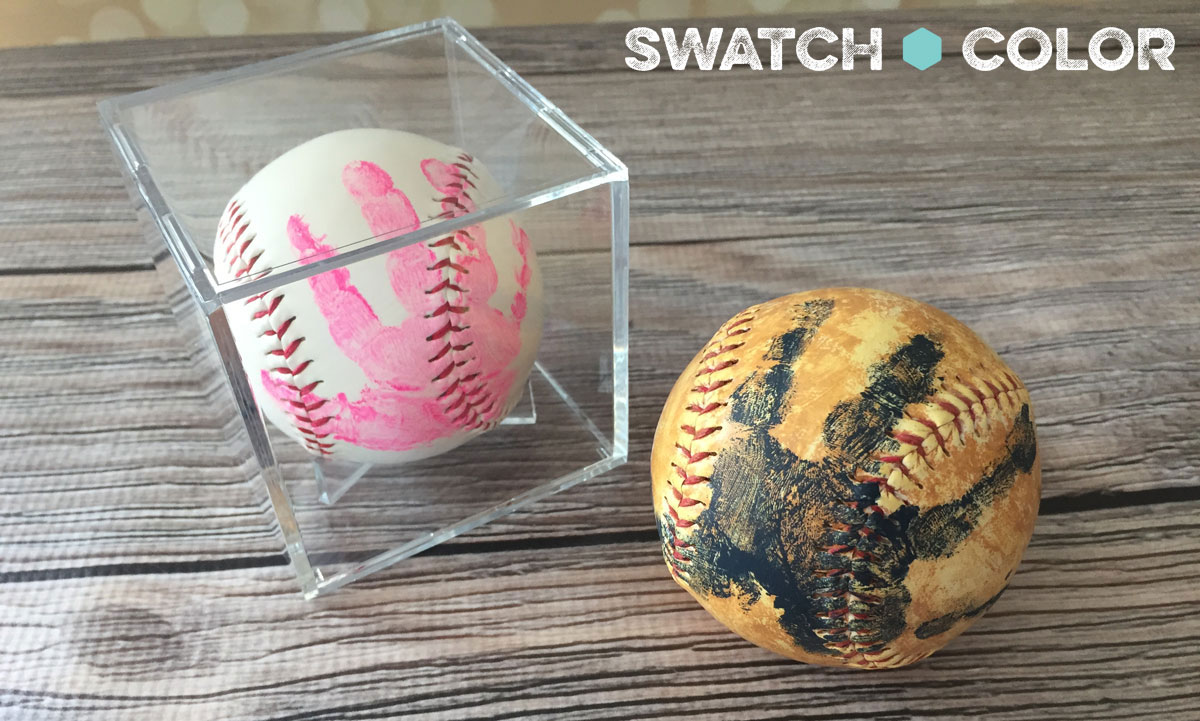
I’m going to show you two different versions on this handprint baseball keepsake:
- Using a new, clean blank ball
- Distressing a new ball to look aged, “vintage”, and worn with dirt (using acrylic paint)
You can easily go out and grab all the supplies you need to whip together this heartfelt gift for the baseball fan in your life. To make your life easier, I’ve also assembled pre-made supply kits with everything you need to complete this gift.
Our fully assembled convenient kits are available for purchase in our shop, along with any additional accessories and supplies you might need.
Are you ready? Here we go!
PREPARATION NOTES
Before we get started, I want to include some notes that are helpful when choosing your supplies:
ACRYLIC PAINT TYPE
- I think any acrylic paint would do fine; however, for this project I opted to use SATIN acrylic to amplify the finger/handprint detail.
- Select dark or bright colors for most effective outcome. Colors that are too light can become difficult to see.
MULTIPLE CHILDREN HANDPRINTS
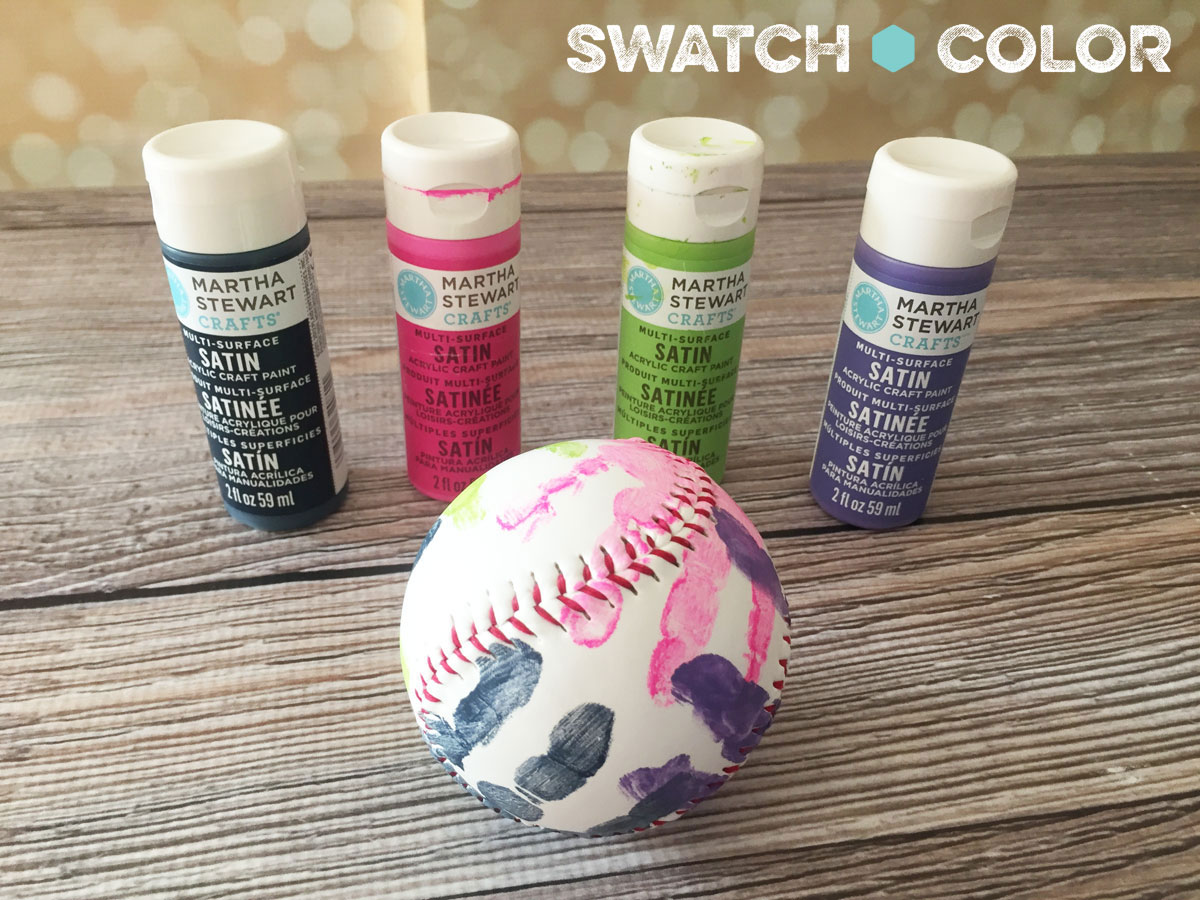
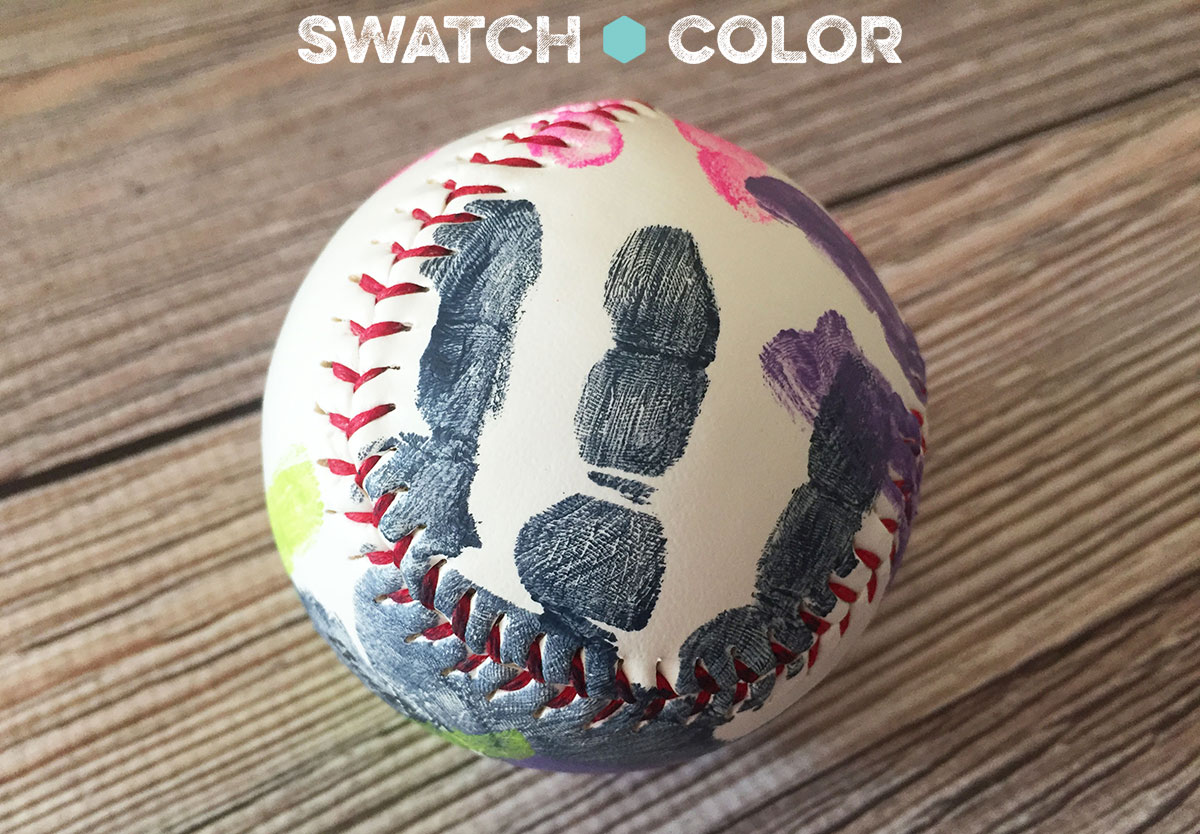
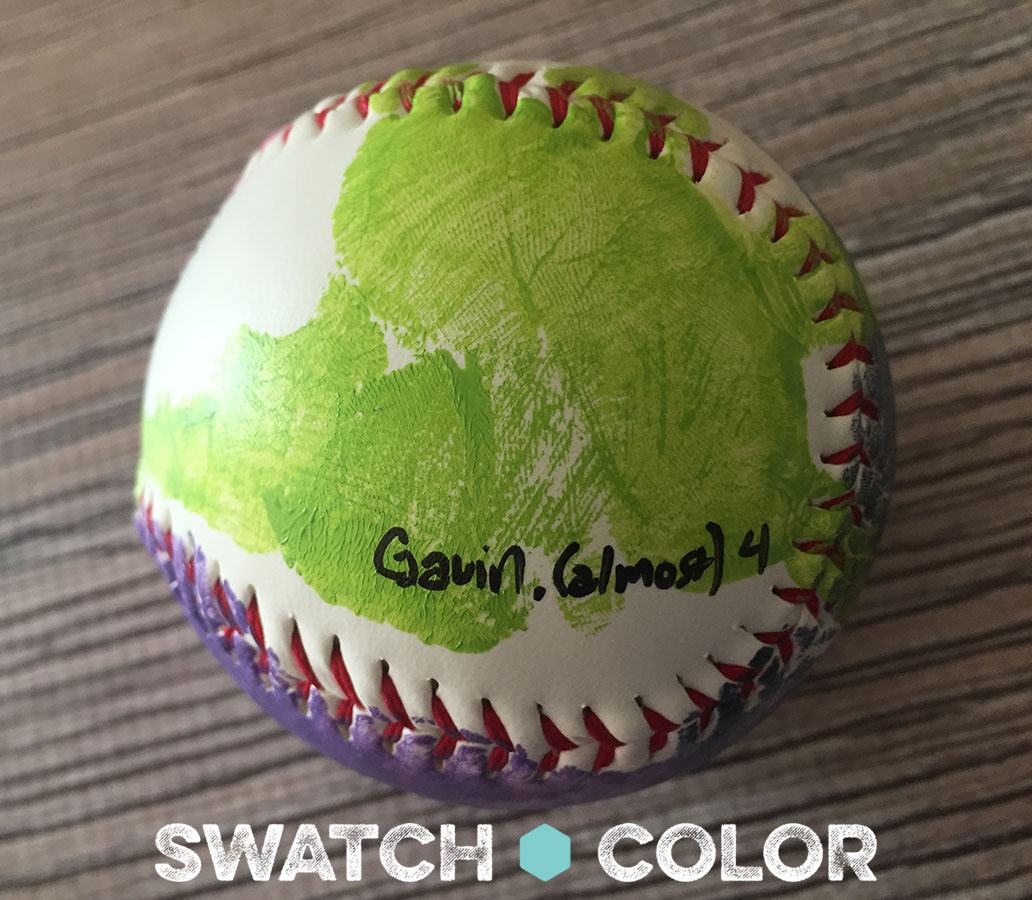
If you’re stamping more than one child’s hand, you’ll need a different color for every child’s hand. Choose colors wisely – ones that will coordinate well and not drown out others. For my sample, I tested four handprints on one ball to see how well it would work for a family with four little hands.
It worked great using dark & bright colors: Navy, Hot Pink, Lime Green, and a bold Purple.
I would recommend no more than 4-5 handprints per ball (if five, on the bottom for the last one). The more handprints on a single ball, the less each individual handprint becomes (especially with older children / larger hands). However, you can simply overlap the handprints around the ball in different colors.
SUPPLY LISTS
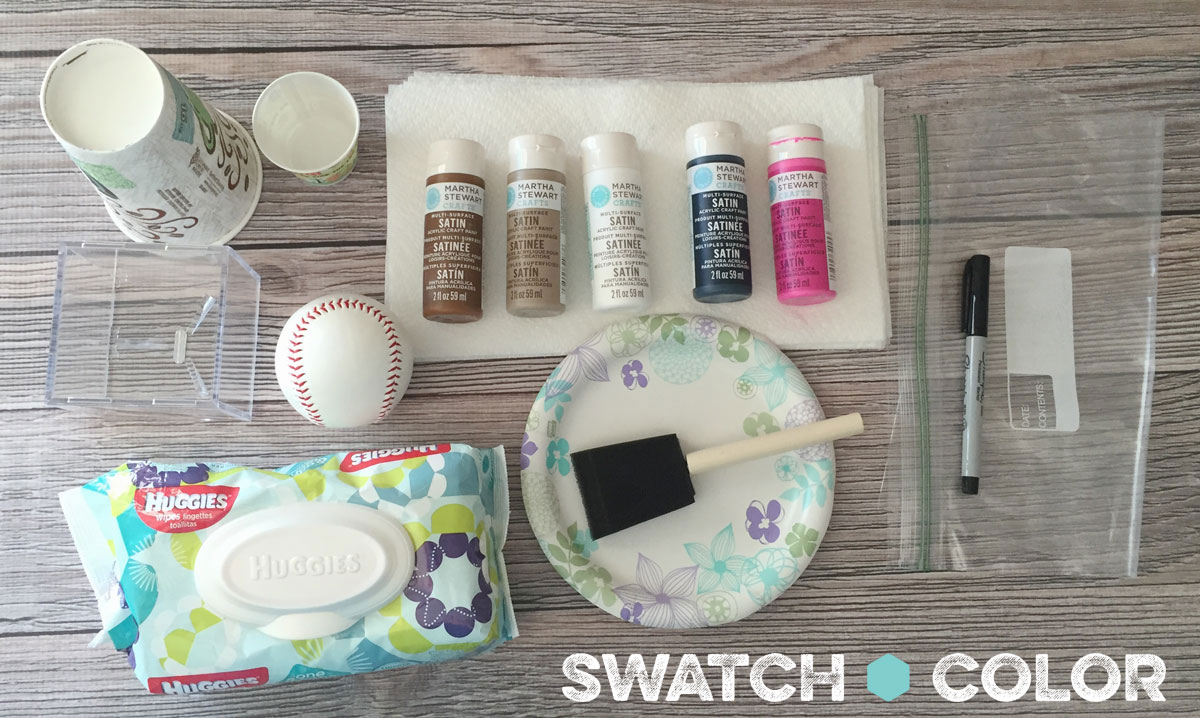
For the clean, blank baseball, you’ll need the following items:
- Baseball
- Baseball display case
- Acrylic paint for handprint
- Paper plate for the paint
- Foam brush (any size will do, but I used 2″ wide for this project)
- *HELPFUL* Baby wipes or wet paper towels handy to wipe paint off hands before washing in the sink
- *OPTIONAL* Fine tip permanent marker to label each handprint with children’s names & ages
If you are going to paint & distress a vintage ball, you’ll need everything above PLUS the following items:
- Dark brown, tan, and white acrylic paints, SATIN finish
- 1 gallon ziplock bag
- Small paper cup (or something you can gently rest the ball on while it dries)
- ~10 sheets paper towels
STEP-BY-STEP TUTORIALS (with photos & videos)
Any time you are dealing with little ones and messy paints, I find it easiest to have all your supplies prepared ahead of time, within reach, and ready to go. That way, you can grab what you need immediately. Especially handy is to have those baby wipes or wet paper towels all ready to go so you can wipe the bulk of the paint off the little ones’ hands immediately…then you can send them to the sink to wash thoroughly.
HOW TO STAMP THE BALL WITH CHILD’S HANDPRINT
First, I’ll go through the steps on hand stamping the ball. If you are doing the clean, white ball…just do this part and you’re finished!
If you’re also going to age/distress the ball, skip down to that demo and do that part first. Let it completely dry before you stamp the ball with handprints.
Before you unleash the mess, you’ll want to prep your materials: have baby wipes or wet paper towels on stand-by so that as soon as you’re finished, you can keep your child from making a mess all over! You’ll also want to have the small cup you’re using to set the baseball on to dry close by (in case you need to quickly drop and chase a messy painted hand ;).
The video below shows the process after we’d done it a few times, but it works the same even if you’re stamping just one time:
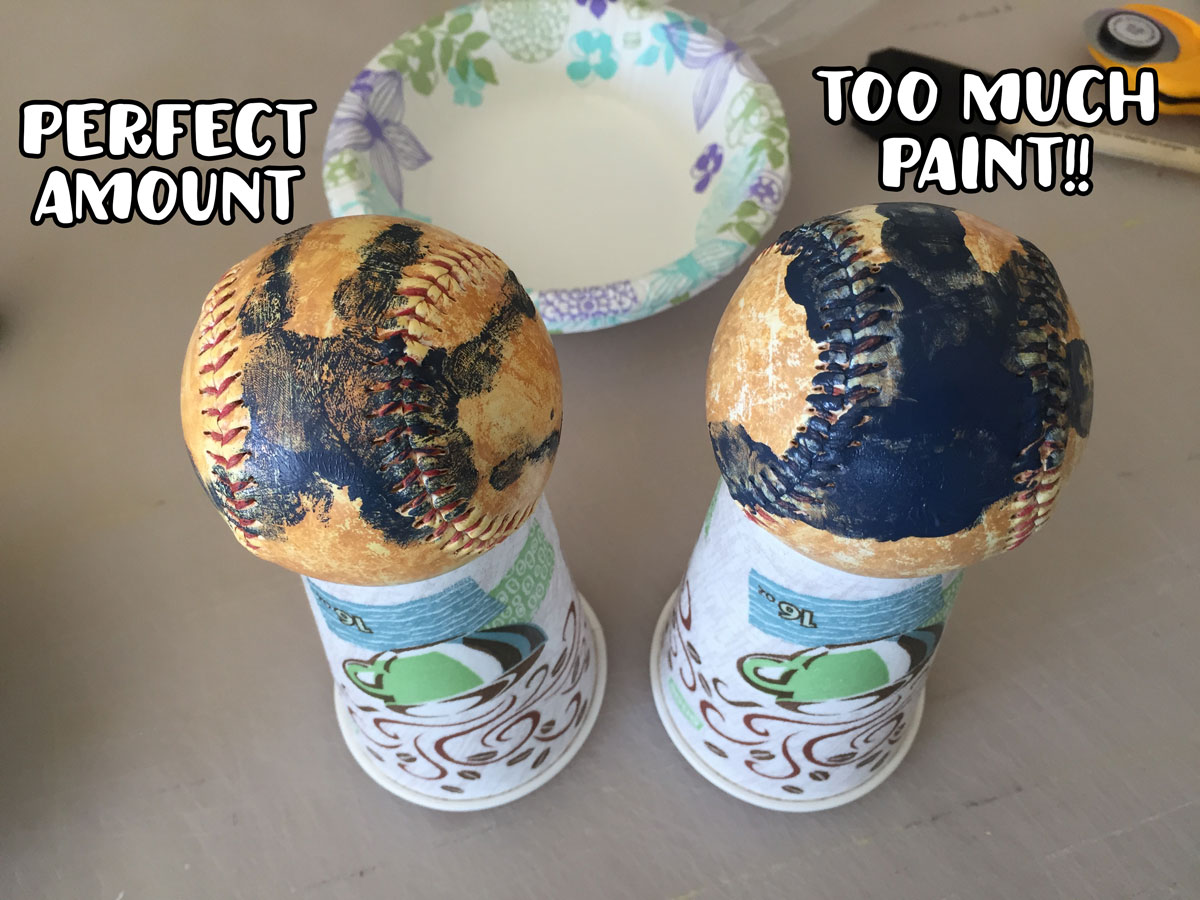
Squeeze a small bit of paint onto a paper plate and gently dab your foam brush. It’s better to start with a small amount of paint and get more if needed. After trial and error, I learned too much paint on the hand is a globby, messy “no-no”.
You’ll want it just a tad more than an ink pad type coverage – enough to leave a bold imprint, but not so much that it all goops together. You want to be able to see the lines in the handprint.
Softly brush the paint onto the hand so that the entire area you want stamped is covered. Gently wipe away any excess or runny paint off the hand with the dry side of the brush (see video above for demonstration).
If you’re working with a baby, I would recommend putting them in a high chair if possible. This helps quite a bit with the squirm factor if they are sitting on a chair or table. (Believe me, I tried sitting her on a table first…definitely not as easy!)
The final step is the cleanly place the hand without wiggle or movement onto the ball – then lift up as clean and movement free as possible. (I don’t have a great picture of this because it is hard to take a photo when both hands are already occupied.)
Gently set the ball on the cup to dry. These handprints dried rather quickly (I’d say in a matter of minutes), but just to be safe…it wouldn’t hurt to wait at least 15-20 minutes to completely dry before setting it into the display case.
For lasting memories, add each child’s name and age at the time of the handprint. Our kits come with UV Protected clear acrylic baseball display cases…so this adorable keepsake is sure to bring dad smiles for many years to come!
HOW TO DISTRESS & AGE THE BASEBALL
I’m a big fan of making a new, clean baseball looking worn and aged with dirt. In fact, I actually have a huge bucket of Baseball Rubbing Mud on order (the actual official baseball mud that the MLB uses), but alas…it hasn’t arrived yet. So I was able to create the effect with acrylic paint.
Once you get the baseball actually wet, you’ll want to work pretty quickly. I found that the paint started to dry fairly fast, so you want to distress, wipe, and achieve the desired look you’re going for before it dries up.
STEP-BY-STEP INSTRUCTIONS
At the bottom of the gallon ziplock bag, squirt about a nickel to quarter size dollops of dark brown and tan paints, and a quarter to half-dollar size dollop of white paint. Then squeeze the bag together so they start to mix up a little bit.
*CLICK ON IMAGE STRIPS TO ZOOM*
Drop it into the middle of the mixed paint and seal the bag shut. Move the bag around the sides so it is completely covered in paint and the different colors mix and blend.
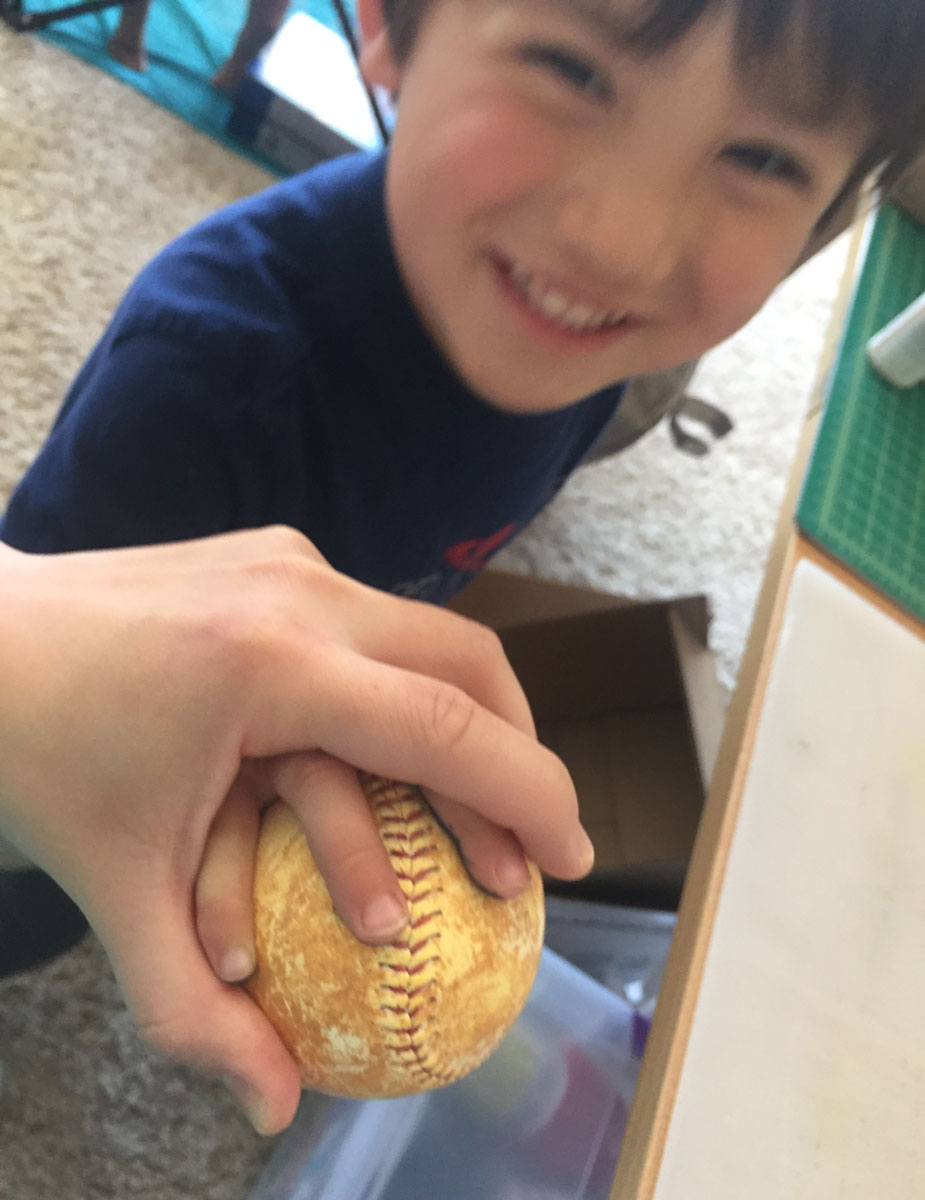
After maybe about a minute or so of sloshing it around, open up the bag and grab it out with a paper towel with one hand. Then while cupping it with that hand, take another paper towel and enclose it in your hands.
Quickly start wiping away as much of the dirt as you want off of the ball to get the look you’re after. Make sure to wipe down the laces of the ball to make those spots a little clearer so the red laces show through.
That’s it! You now have a beautifully “aged” and distressed ball that looks like it’s been worn with dirt and thrown around for years! For me, the ball was pretty much dry by the time I had finished wiping it down, but it wouldn’t hurt to be safe and set it on your cup to completely dry for 15-20 mins to make sure it’s ready to handprint.
